Do you type a lot on the computer? I do. And even though I’m a fast typist I still don’t type as fast as I can talk. That’s probably true for most of us. So, wouldn’t it be nice if you could just turn your speech to text on your computer? Well, you can! There’s voice recognition software built right into Windows.

Note: this post may contain affiliate links.
Note: If you have an Apple computer check out the Apple website for their version of speech to text software.
Enabling Speech to Text in Windows
Before you use the speech to text function in Windows you must first enable it by following the steps below:
- In your search bar (or Cortana search field) type speech recognition
- In the list of items that appears, select the Windows speech recognition desktop app
- Windows will now walk you through the steps to set up speech recognition on your computer
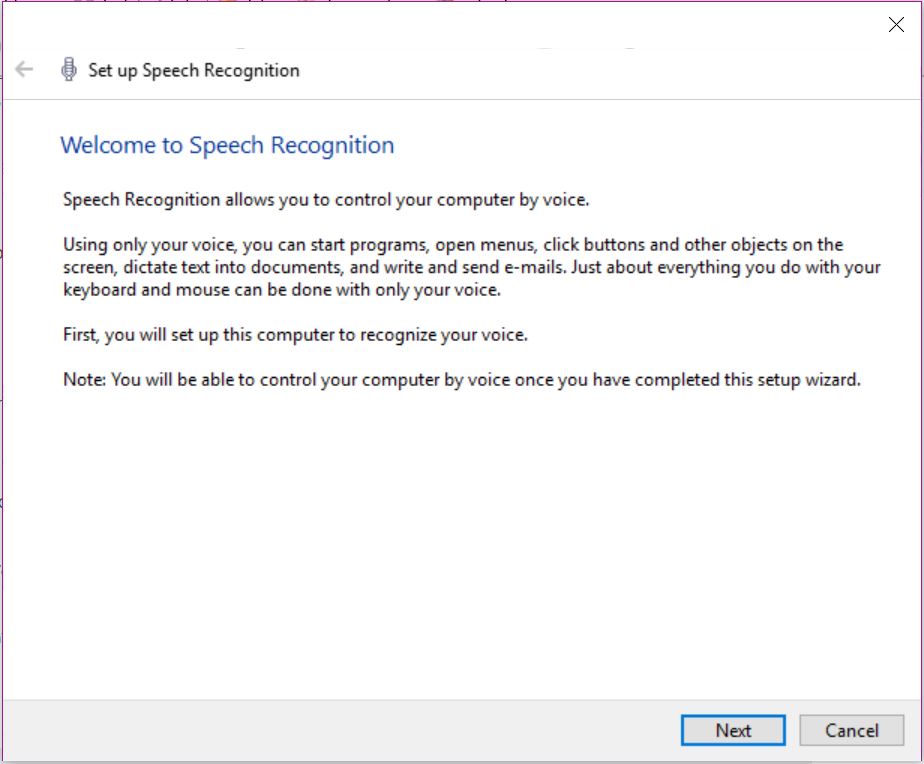
- In the first pop up window click next
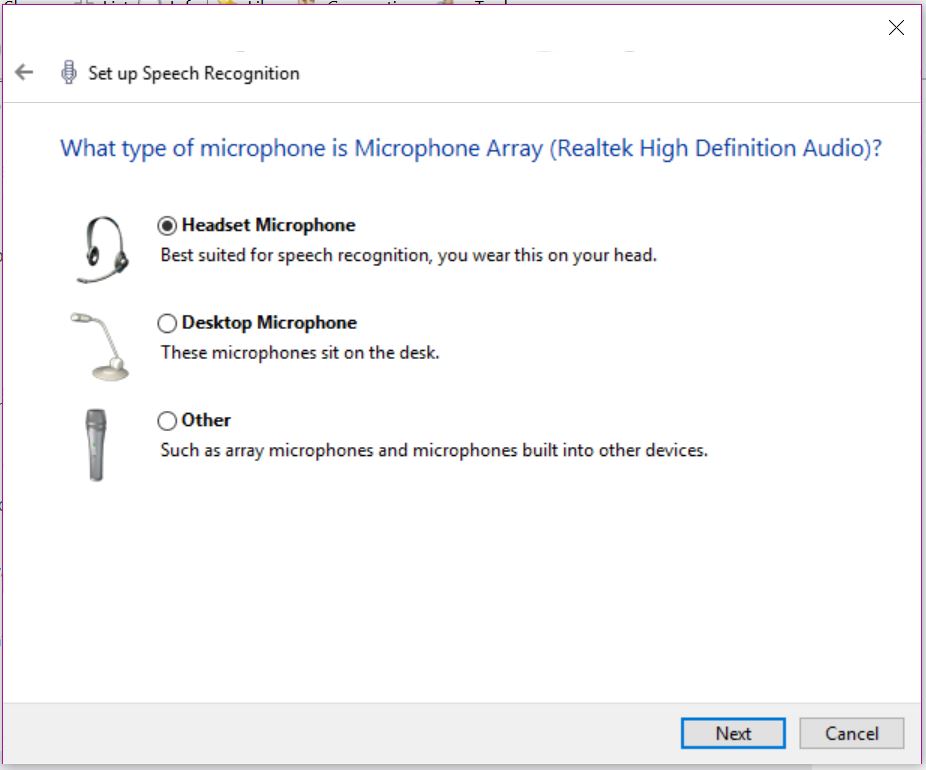
- In the next window select the type of microphone you’ll be using for the voice recognition function and click next
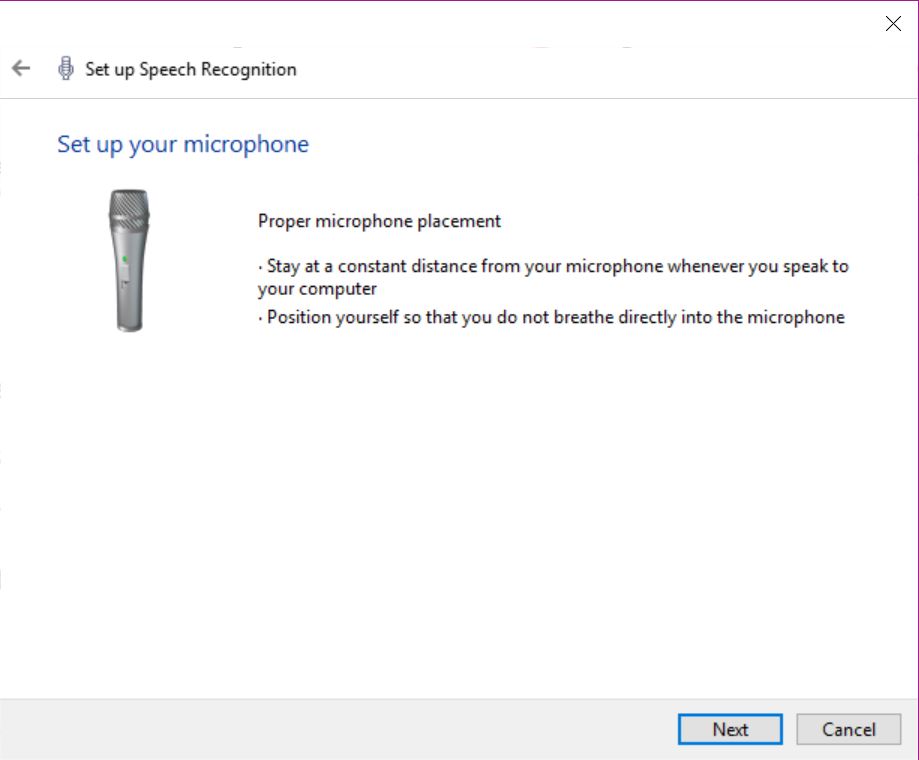
- The next popup will ask you to set up your microphone. Make sure your microphone is on or your external microphone is plugged into the computer and click next.
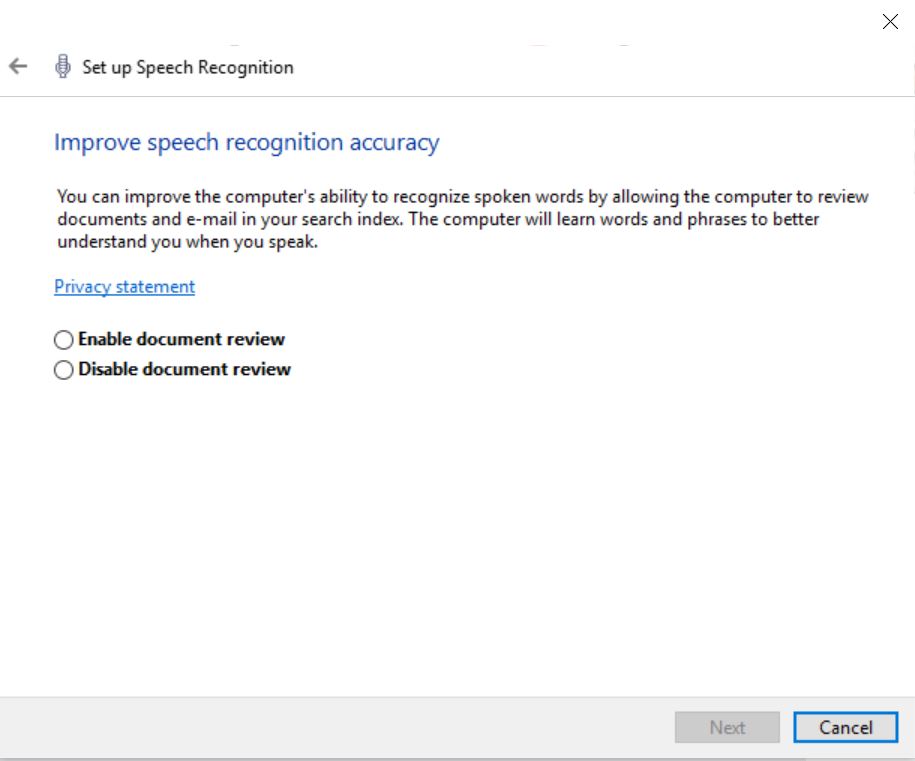
- The next window will ask if you’d like the computer to improve its speech recognition accuracy by reviewing your personal documents and emails. If you choose to enable document review, Windows will view personal documents and emails to better learn the phrases and types of speech that you use. Choose whether you’d like to enable or disable this feature and click next.
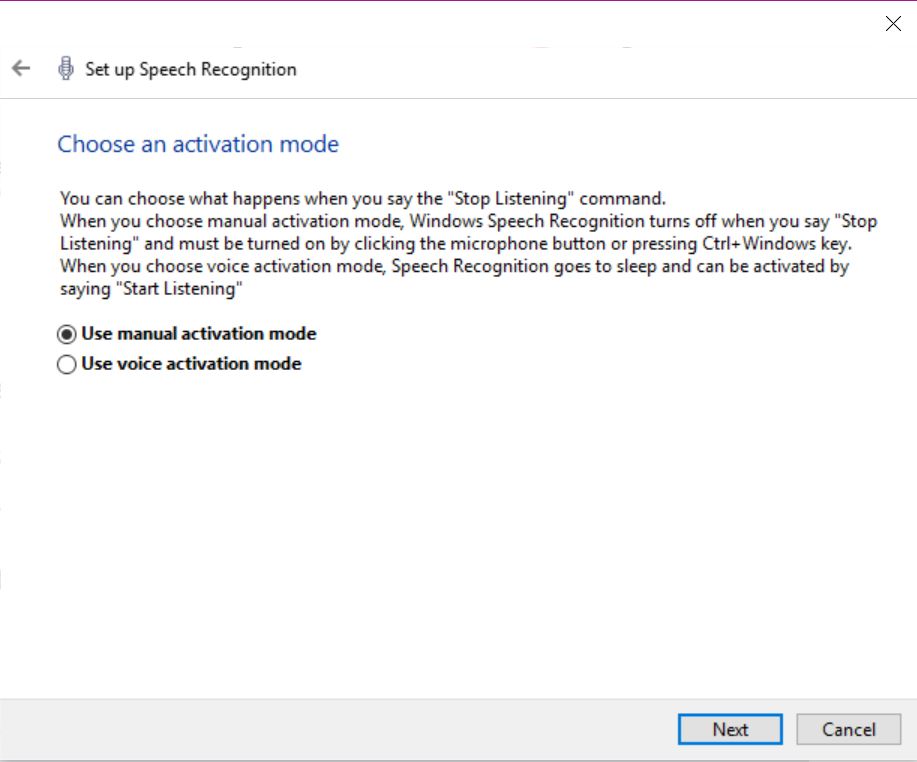
- Next you can choose how you’d like to turn on the speech recognition function. You can do so manually (by using your keyboard and mouse to open the app when you want to use the speech to text function) or you can use your voice to start and stop listening. Make your selection and choose next.
- There are several commands that the computer is trained to understand. These commands help you navigate around the computer with your voice and edit your text as you type it. The next window enables you to access the list of these commands built into windows 10. Click the view reference sheet if you choose to study these commands or click next to continue.
Note: There are so many windows commands to try and remember that we made a printable cheat sheet to keep by the computer for reference. We’ve consolidated all the commands onto two pages that you can laminate (or put in a sheet protector) back to back for easy reference while you’re learning. Sign up below if you’d like a copy of our handy printable reference sheet.
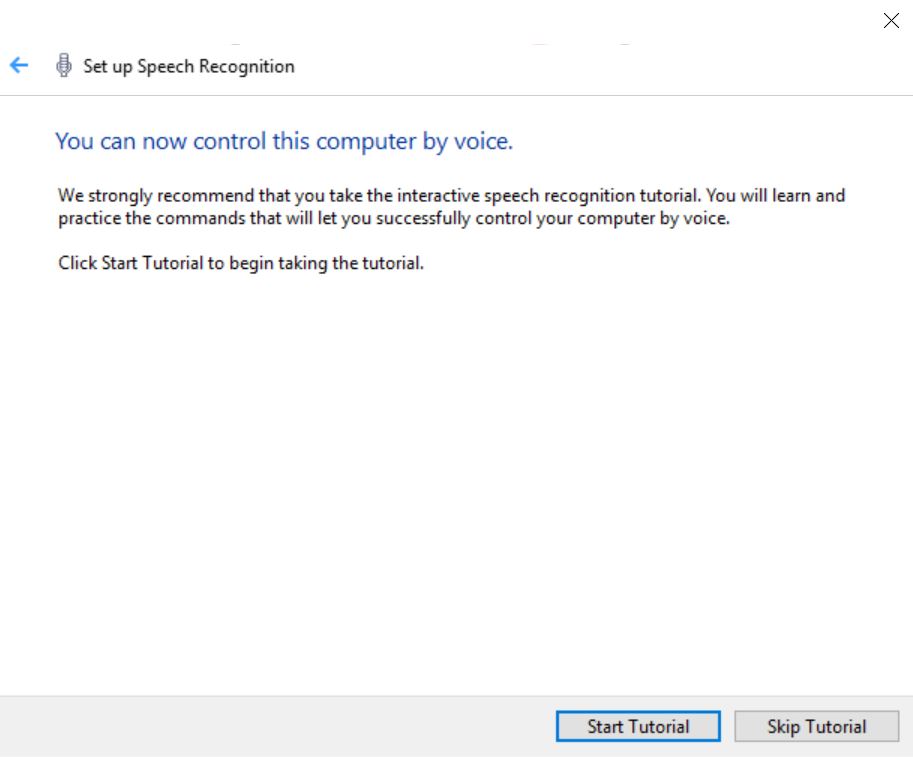
- You’ve now completed the setup and have the option to go through a quick tutorial or to skip it. Your speech to text function in Windows 10 is now enabled.
How to Use Voice to Text in Windows
Now that you have the speech to text function enabled in Windows 10 it’s simple to use it.
If you chose voice activation, you can open the microphone by simply saying “start listening”. When the computer recognizes that command the speech to text function will open and you cannot dictate to your computer using the speech recognition software.
If you chose manual activation, when you’re ready to use the dictation software you simply type in the search bar or in Cortana speech recognition and click on the result this as a windows speech to text function.
As an example, I’m writing this blog post using the voice recognition software in Windows. To start I opened a Microsoft word document, then opened the microphone and began to speak. The speech to text feature is translating my words into text in my word document.
- See our other Windows tips and tutorials
Tips for Using Voice Recognition with Windows
When I first began using the speech to text feature in Windows 10 the computer was not recognizing my words correctly. If you are experiencing the same thing there are few ways to improve the speech recognition of your computer.
- Instead of using the microphone built into your laptop use a headset or microphone that is closer to your mouth
- Speak slower and clearer
- Train the computer to understand how you speak and pronounce words. To do this, open the control panel by right clicking on your start button and selecting control panel or by typing control panel in the search field. Then, in the upper right corner of the control panel, type “speech recognition”.
- In the window that opens select “train your computer to better understand you”
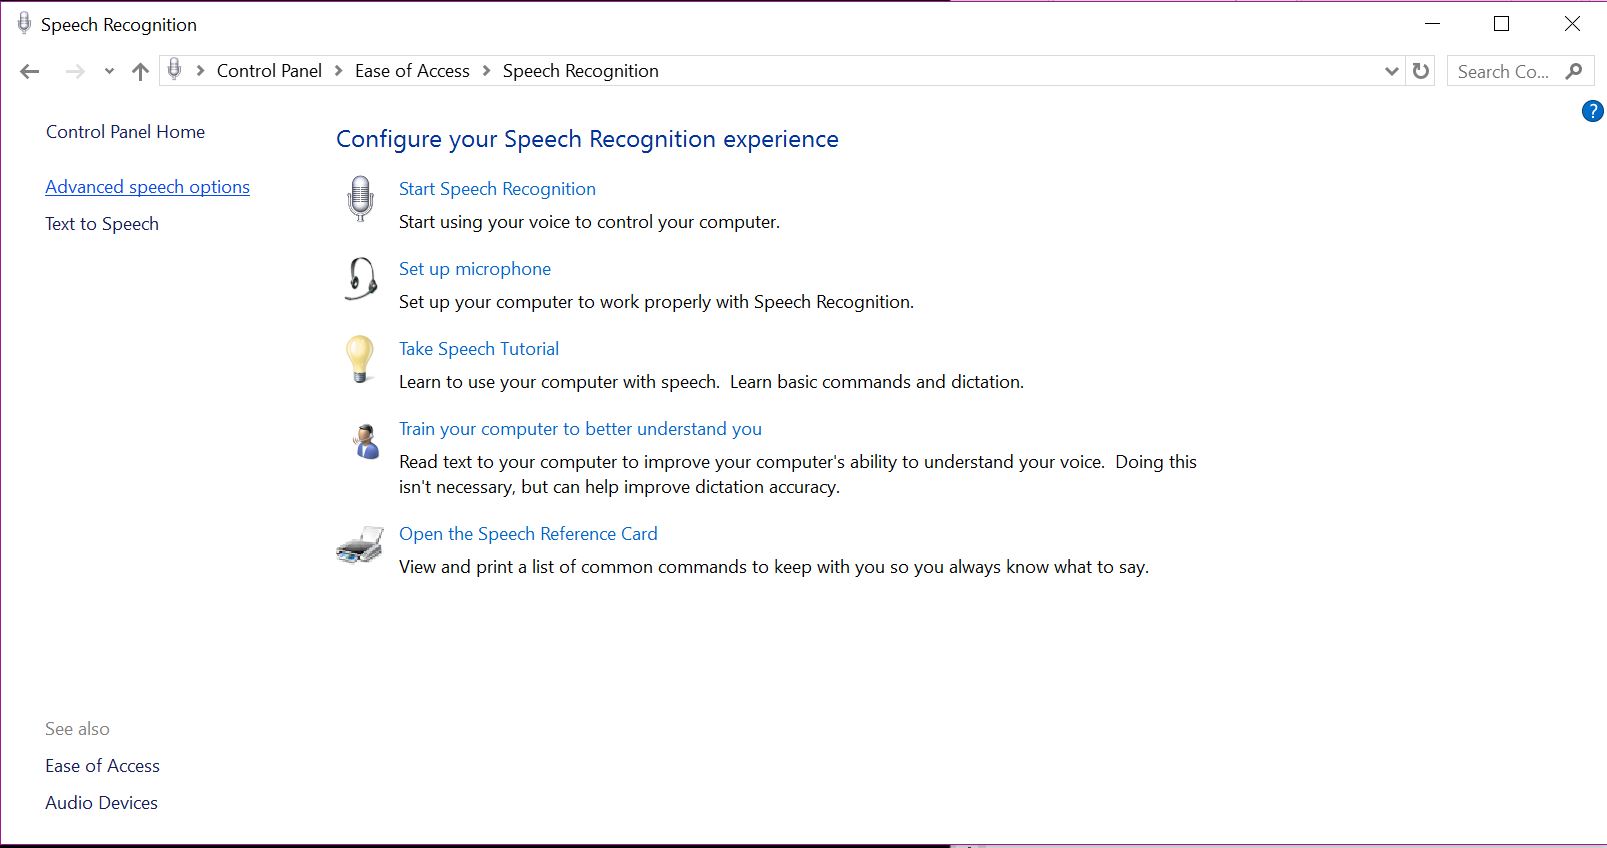
- The computer will then walk you through an exercise to train the computer to understand how you speak.
- As each sentence appears, read it out-loud. After you read each sentence the computer will display a new one for you to read.
- After completing the speech training exercise my computer’s voice recognition performed much better than it had before.
- In the window that opens select “train your computer to better understand you”
Conclusion
Have you used the speech to text feature of Microsoft? Do you think you write faster or better using it? So far I think writing has been faster with it but it takes some practice to get the commands down for editing. Don’t forget to download your free printable cheat sheet. We’ve consolidated all the commands down to two pages you can keep by your computer for reference making it much easier to remember them.
We’d love to hear your experience with the speech recognition feature and if you’ve found ways you can use it to make your life more efficient. Leave a comment below, we’d love to hear from you.
- You’ve now completed the setup and have the option to go through a quick tutorial or to skip it. Your speech to text function in Windows 10 is now enabled.
